Developments in My Garden - The Pond
In January 2009 work began on a pond in the lower garden. The subsoil is boulderclay with a sandy consistency so it would not hold water for a long period without a liner.
| View of the area where the pond was to be dug out in July 2008. | 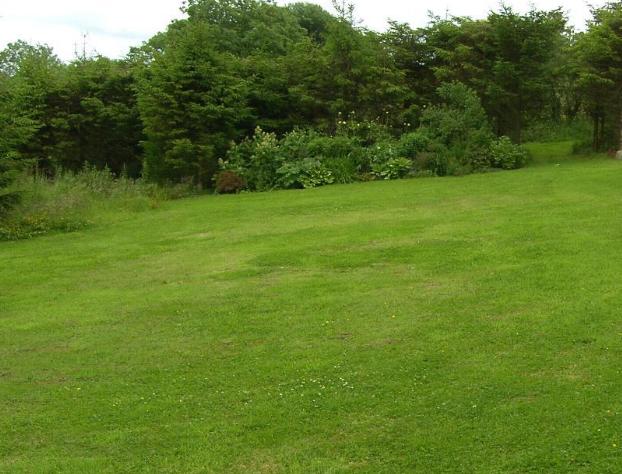 |
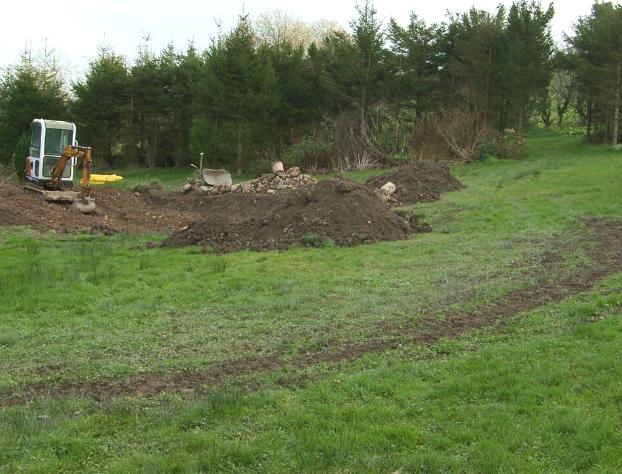 |
The top-soil was removed and stacked outside the area to be re-profiled. There is a slight incline so the area was levelled out by moving some of the subsoil to the lower side first, then the excess was taken away to form the pond. The larger boulders were kept to be used for retaining the upper side. |
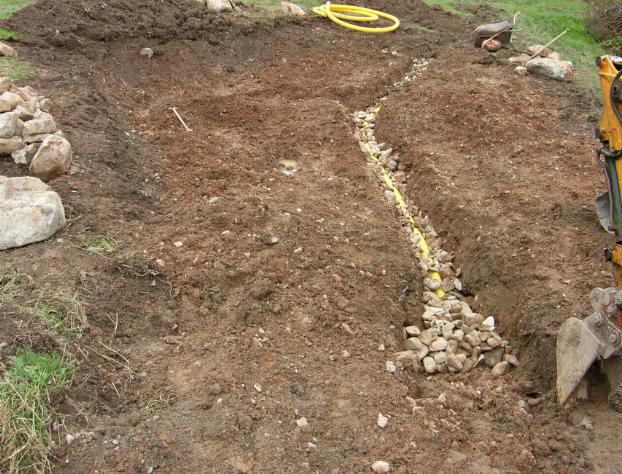
There are some field drains passing through the area that take away the water which filters down from the higher ground. This could raise the water-table under the liner during very wet weather and would cause it to rise up to look like a whale or a cousin of the fabled Loch Ness Monster. So the drains were continued at the bottom of the dug out area. |
 |
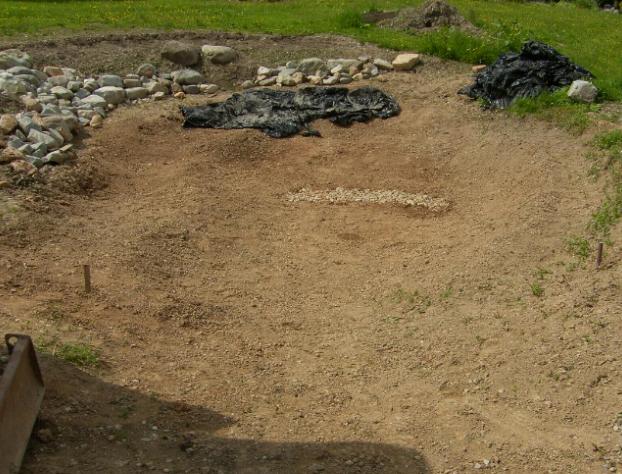 |
The sides were given a gentle slope and a shallow shelf was left near to the edges to accommodate marginal planting. When a pond is filled the rim must level to ensure the liner can be concealed fully later. The level was checked by driving a small peg into the soil at the perimeter to the proposed final level then using a straight plank and a spirit level, another peg was inserted further around. This process was continued until there were pegs all around (two of them can be seen in the picture). The soil could then be profiled accurately to the pegs. |
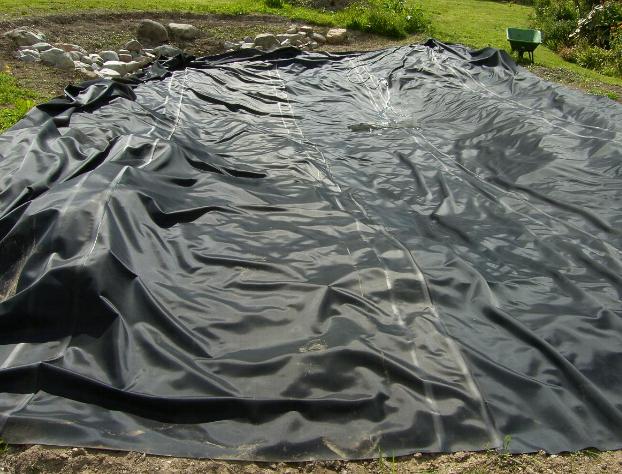
A 1mm butyl rubber liner was used as it is the most suitable for a pond of this size and has a 25 year guarantee. The lines show where it was welded together by the supplier. |
 |
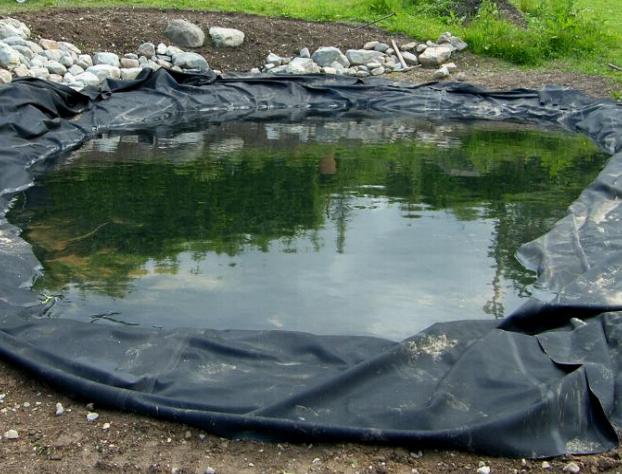 |
The water to fill the pond was taken from a deep well near by, using a submersible pump. It was crystal clear for a few days, but turned a reddish colour due to the particular algae that must have been in the well water. So it should be possible to keep a flock of flamingos in pink plumage! |
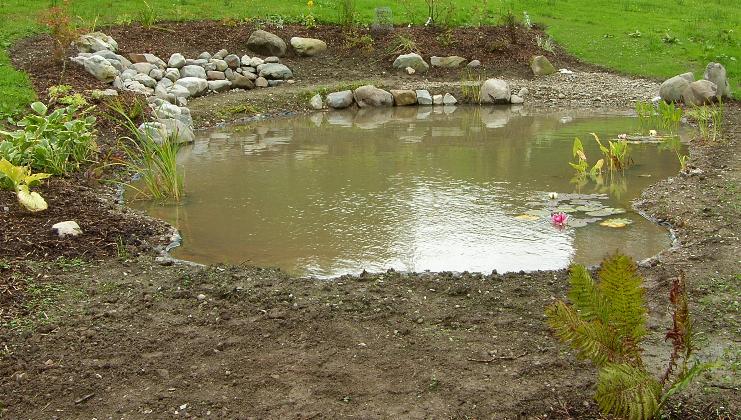
The excess liner was trimmed off and about 40cm all round was buried under soil or under some of the boulders which were placed on the edge. At the end of the pond (in the foreground of the picture) there is a bog garden which has a perforated liner buried about 60cm underneath it to retain the moisture and a slight depression in the edge of the pond allows any excess water to overflow into the area. |
 |
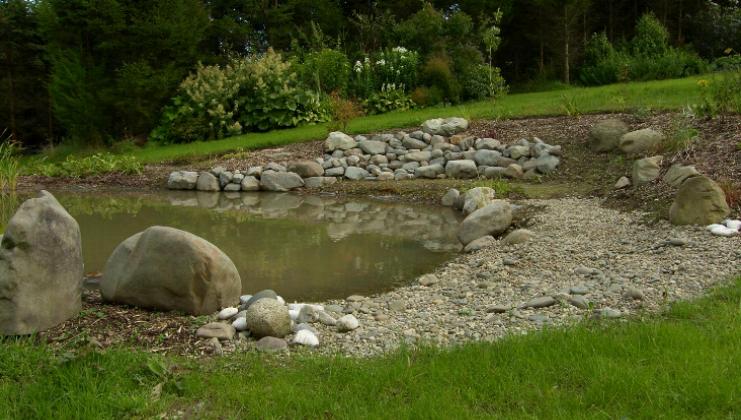 |
This view gives an impression of the sloping profile of the surrounding ground. |
Below are some more up to date pictures. Click on the thumbnails to enlarge
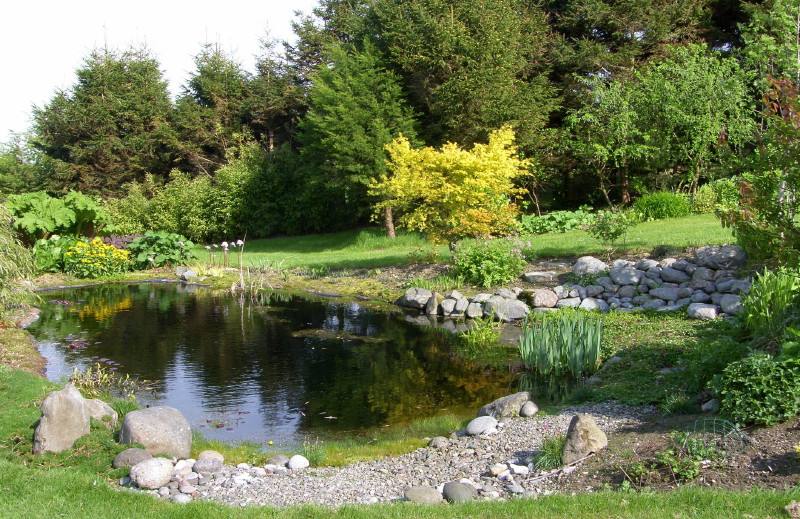 |
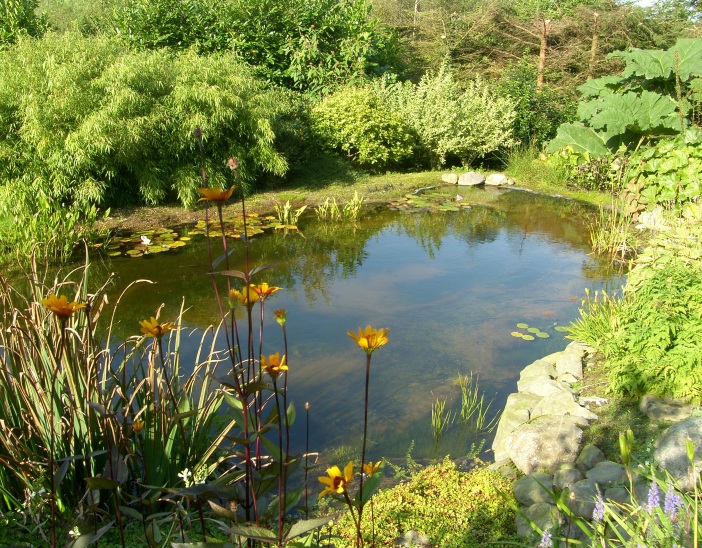 |
Here's the whole process in a slideshow, click on the ![]() icon to view full screen.
icon to view full screen.